If you have a new tablet, you’ll quickly figure out that you need a stylus to go with it. These pieces are great for helping you design on your tablet, and work better than the alternatives. However, these styluses can get expensive. Many designers don’t know that they can make their own capacitive stylus that will work with their design tablet. Here are two different capacitive styluses to try out and how to make them.
First Capacitive Stylus:
1. Tools
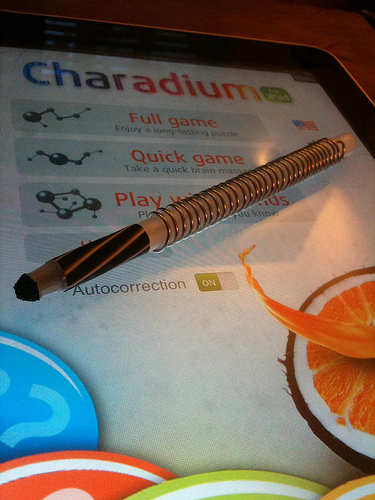
Image via Flickr by Rob Marquardt
There are a few tools that you’ll need for this stylus. You will need pliers, a drill and bit, and scissors. In addition, you’ll need a ballpoint pen, kitchen sponge, and paper clip. If you don’t have a drill and bit available, a screwdriver can also be used, however, this is the more dangerous option.
2. Preparation
When creating this stylus, you need to remove the ink cartridge from the pen. Using the drill and bit, drill a hole near the tip of the barrel of the pen. In addition, you need to cut off a rectangular section off the sponge. This section will be used in conjunction with the barrel of the pen, so it’s important to keep the size of the pen barrel in mind.
3. Making the Stylus
With as much patience as possible, get the sponge through the barrel of the pen. This is a frustrating process, and may take a few tries. You may want to consider using the ink cartridge to push the sponge through the barrel. Make sure you leave a bit sticking out of the tip of the barrel. This is what you will use on the tablet. Poke the paper clip into the hole that you created earlier, and through the sponge. Once you have the paper clip in place, wrap it around the pen barrel. Put the pen back together, without the ink cartridge.
4. How it Works
When your finger is in contact with the metal of the paper clip, it conducts electricity. When the sponge is damp enough to be pliable, it is able to get that electricity from the paper clip to tablet screen. This is a perfect stylus to use when filling in colors in your design on a new convertible laptop tablet.
Second Capacitive Stylus
1. Tools
While the concept of this stylus is the same, the implementation is a little different. For this stylus, you’ll need a pen or pen-like utensil. You’ll also need to have strips of either tin or aluminum foil. The aluminum foil is easiest to get for most people. A piece of a kitchen sponge is required, and some tape is beneficial.
2. Preparation
Once you have all of your tools together, you simply need to make sure that the sponge is damp, though not quite wet. This will leave it pliable and easy to use when making your stylus. It’s a good idea to make sure that you’re comfortable with the pen or pen-like device you’re using. If you plan to use the stylus often, this is crucial.
3. Making the Stylus
Take the strips of tin foil and wrap them around the pen that you plan to use. Make sure that you wrap the strips in a way that they will come in contact with your hand or fingers when you use the pen. Take the piece of kitchen sponge and put it on the tip of the pen. Though it is not required to tape this on, taping the sponge can help make sure that it doesn’t fall off. The less tape you use, the more conductive the stylus will be to transfer the heat from your fingers. Another option is to wrap the strips of foil around the bottom of the sponge, to help keep it in place, as well. Make sure that the sponge fully covers the tip of the pen, so that you don’t scratch the surface of the tablet you use.
4. How it Works
Just like with the previous stylus, this one works through conducting the electricity in your skin through the pen and on the screen. This electric current is something that we don’t even notice on a day-to-day basis, but is crucial for capacitive screens on tablets.
Creating your own stylus is a fun project that can save you some money. Even though you can get styluses for under $20, when you make one yourself, you’re making it for closer to $0.10 so you don’t have to worry if you lose or break it. Which of the two styluses do you like the best?
Author Bio:
Calvin Sellers is an avid mobile tech and social media writer and graphic designer from Tampa, FL. Follow him on Twitter @CalvinTheScribe.
